There may be instances when you want to sow seed in containers instead of directly sowing into the ground or a raised bed. Some vegetables easily adapt to being transplanted. Starting seeds in smaller containers and then moving them up to a larger container or transplanting directly into the garden might be an option for your situation (Brown et al, 2021). In this web log we’ll take a look at the basics of sowing seed and transplanting seedlings.
1) CONTAINERS
The home gardener has many options to start seeds. I’m all about simple, effective, and convenient. Clean and disinfect container if previously used. I’m repurposing a seven-pack container (image a). Wash with soap, water, and brush clean. Prevent spread of fungal and disease pathogens. Pathogens such as fungal disease cause dampening off and rotted roots. No roots, no plant.
2) MEDIA/MIXES
Use fresh seed starting mix. Some mixes or media are a soilless blend containing peat, vermiculite, and perlite. Media should be homogeneous, light, and fluffy. You’ll be assured a consistent product with bagged mixes. Good seed-to-media contact is important. Containerized media may absorb and hold water against gravity. The media should be evenly damp not soggy.
How do you know if the mix is suitable? Wet mix. Clasp a handful and squeeze. Water should come out and it holds together but falls apart when pressed with a finger. If it stays in tight ball, like clay, it’s too dense for fine baby roots. Likewise, there will be little space for air and water. If the mixture never holds together, it’s too sandy. We are going for a loose and crumbly texture when wet.

Do not use recycled media for starting seeds. Even though sandy garden soil is well draining it is not recommended for seed starting due to resident microbes.
3) SOW SEEDS
Prepackaged seeds often have ‘best used by date.’ Use fresh seed or pull a germination test. Seeds may be treated with fungicides, typically these will be colored prill (Treadwell et al, 2021).
Place media in each cell (image a). Smooth the top of the media (image b). Do not pack the media as compaction presses out air and water space. Air and water are essential for seedling growth.
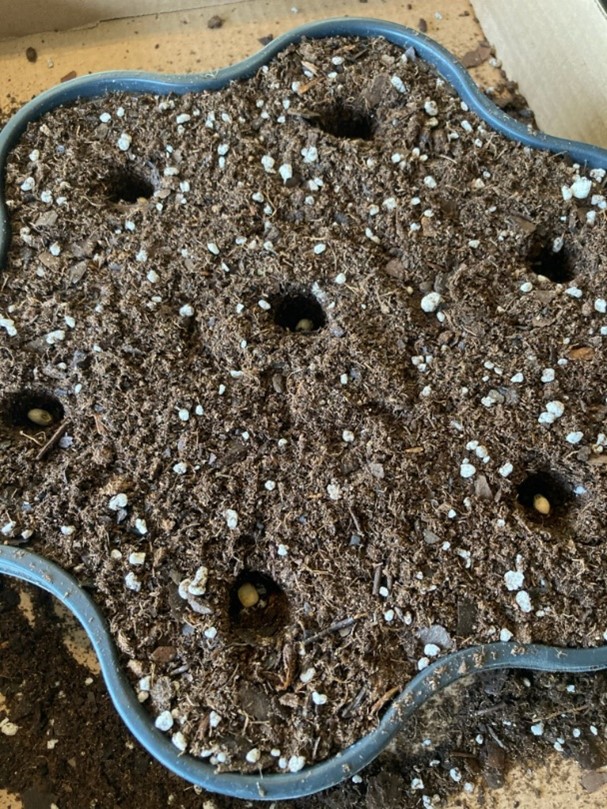
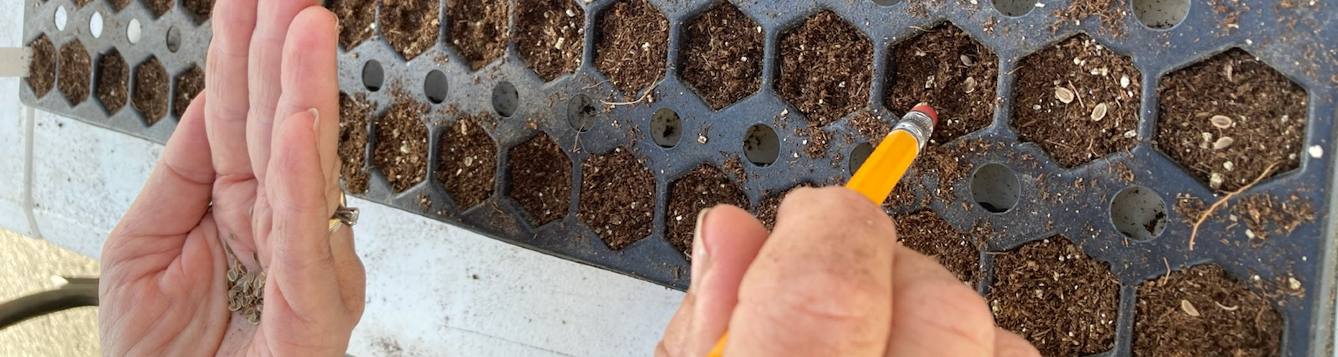
Sow seeds according to package directions. Some seed rely on light or darkness to germinate. Depending on seed size, a thin layer of media may be spread on top of seed or dibble a hole. To dibble, mark a pencil with seeding depth and make a depression the media. Place seed in hole (image c). Lightly backfill or add more media to make good seed-to-media contact. Planting seeds too deeply depletes embryo resources before the plant leaves emerge and begin photosynthesizing.
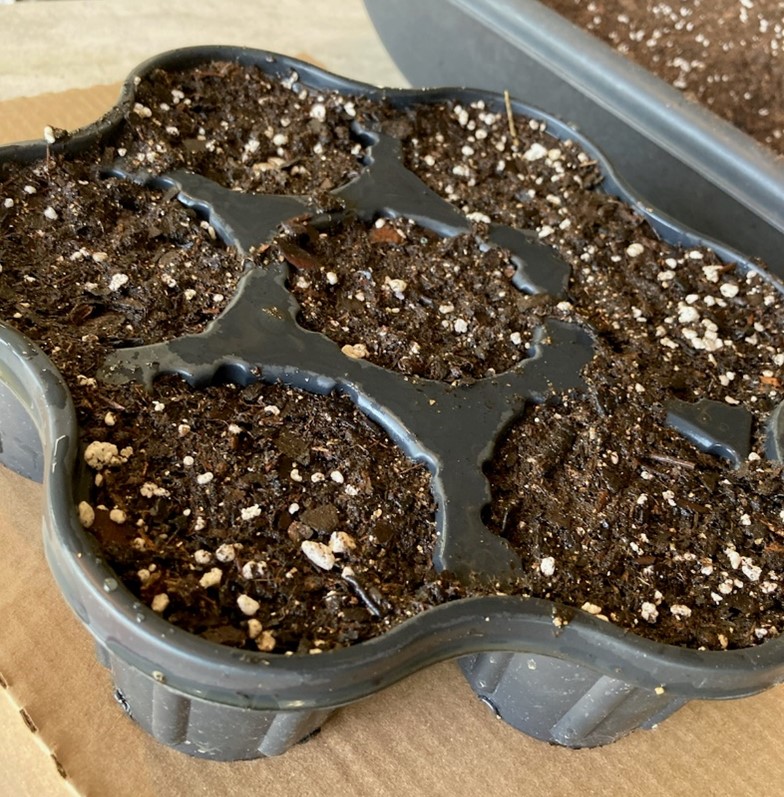
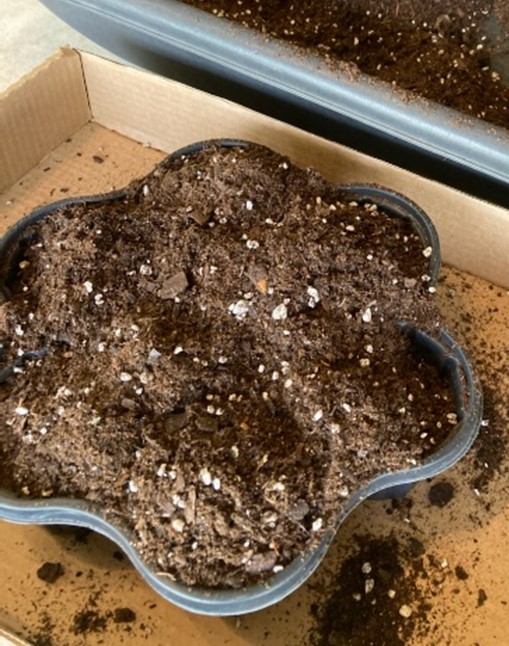
Gently mist to hydrate the top layer of media and then water media. Wait, then add more water, wait a little longer to ensure media is thoroughly moist and water flows from drain holes. If in doubt, gently move media aside to verify. Note: media has settled (image d). Place the container in area protected from drying winds, in moderate light, and maintain sufficient moisture. Keep moist, not soggy, and warm. Warm and moist environments will allow seeds to imbibe, to take enough water in to germinate.
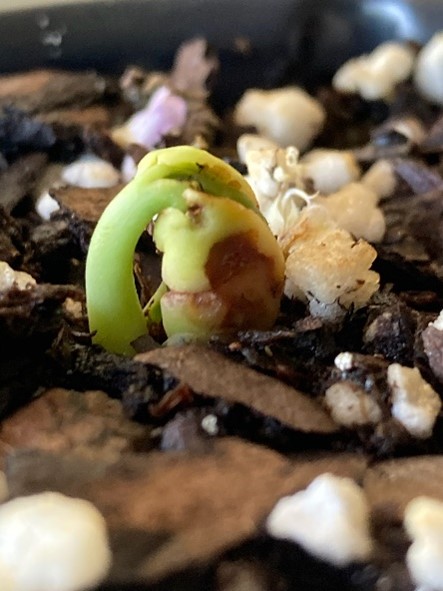
I still get a thrill at seeing the first bit of green stem tissue, the hypocotyl. When the hypocotyl (e) and/or cotyledon (seed leaves, f) emerge, increase exposure to four to six hours of direct sun light and continued to irrigate media and roots.
4) AFTERCARE
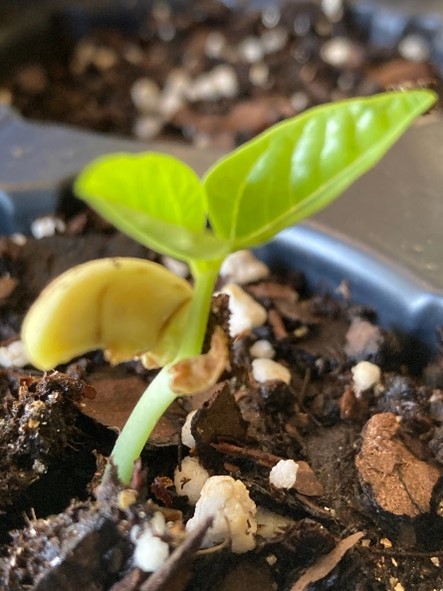
What’s the plan for putting seedlings in the garden? When two sets of plant leaves appear, gradually increase light exposure and reduce mositure for the next 10 days to two-weeks. Acclimate transplants to eight hours or more of direct light. Reduce irrigation frequency and increase exposure to warmer or colder temperatures to “harden off” transplants prior to placement in the garden.
A moist root ball ensures soil does not pull away from roots. Squeeze sides of container to release media. Remove root ball by inverting container, pushing up on root ball through the drain hole, or using a narrow flat bladed knife to scoop out transplant. Do not tug on stem or leaves to remove from cell.
Place in the garden using recommended spacing (Brown et al, 2011). I know there are questions I’ve not covered or comments for what happens after this process. Please leave those in the comments below and I can add to them to the Green Thumb series. I look forward to hearing about your gardening success. Until next time – Happy Gardening!
Resources.
Sydney Park Brown, Danielle Treadwell, J. M. Stephens, and Susan Webb, 2021, Florida Vegetable Gardening Guide, https://edis.ifas.ufl.edu/publication/VH021
Ed Thralls, Sydney Park Brown, and Ed Paulson, 2021, Seed Sources for Florida Homegrown Vegetables, https://edis.ifas.ufl.edu/publication/ep486
Danielle Treadwell, David Outerbridge, Tabitha Petri, and James M. Stephens, 2021, Seeding the Garden, https://edis.ifas.ufl.edu/publication/VH026
Source: UF/IFAS Pest Alert